

The Complete Guide to the manufacture of elastic bracelets:
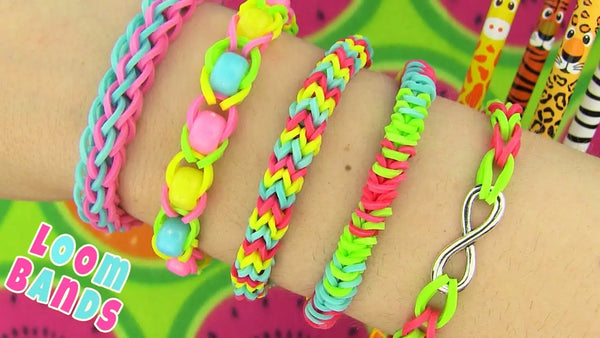
Create an elastic bracelet is a fun manual activity, accessible to everyone, even the youngest. Here is a tutorial for elastic bracelet step by step based on a detailed guide, perfect for beginners.
Necessary equipment
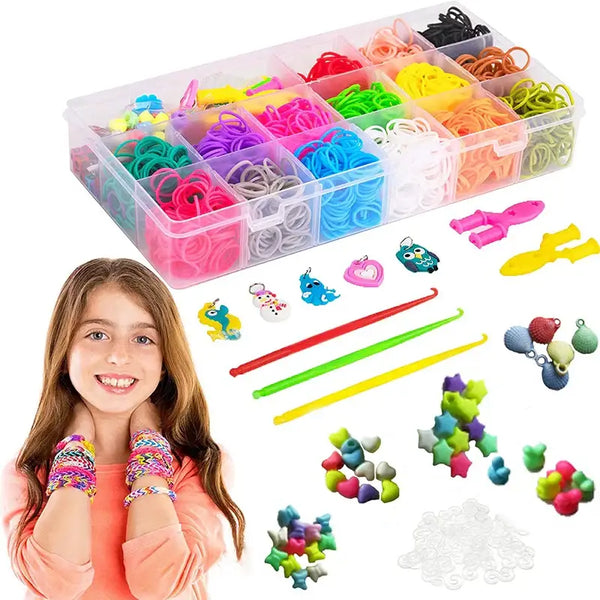
- Colored rubber bands (also called loom bands).
- A plastic "C" shaped clip to secure the ends.
- (Optional) A hook to facilitate assembly.
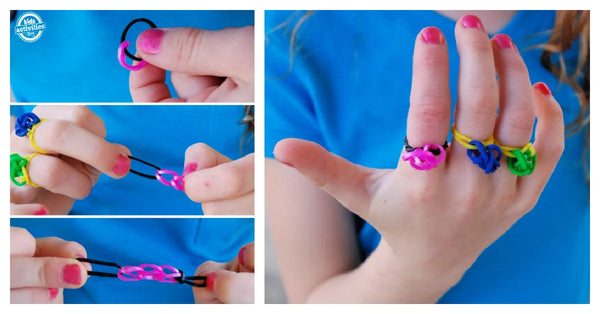
Manufacturing steps
- Preparing the elastics : Take a first elastic band, flatten it into an oval shape and pass it through a "C" clip.
- Adding elastic bands : Take a second elastic band, flatten it, and thread it through the loops of the first. Repeat this step with the following elastic bands to create a chain.
- Bracelet closure : When the bracelet reaches the desired length, attach the last elastic to the "C" clip
Tips and tricks
- Vary the colors: Create unique patterns by alternating colors.
- Suitable size: Adjust the length according to your wrist.
- Simplify the tool: Although hooks are included in some kits, your fingers are all you need to make this type of bracelet.
Why make an elastic bracelet?
This is a perfect activity to develop children's creativity, while teaching them patience and precision. elastic bracelets are also excellent homemade gifts for their friends and loved ones.

0 comments